
Floral Boutique Tissue Box Cover
FP108
Original Design By: Maggie Weldon
Copyright 2012 Maggie Weldon
Skill: Easy
Size: Fits square, boutique-sized tissue box.
Materials: Yarn Needle; Worsted Weight Yarn; White (MC) – 2 oz, 110 yd (56 g, 99 m); Peach (CC) – ½ oz, 28 yd (14 g, 25 m); 8mm Pearls (9); Craft or Hot Glue.
Crochet Hook: Size H-8 (5.00 mm) or size needed to obtain gauge.
Gauge: 7 sc and 8 rows = 2”.
JOINING WITH SC
When instructed to join with sc, begin with sl knot on hook, insert hook in st or sp indicated, yo and pull up a loop, yo and draw through both loops on hook.
Cover
Row 1 (Right Side): Starting at top, with MC, ch 15, sc in 2nd ch from hook and in each ch across. (14 sc) CH 1, TURN EACH ROW.
Rows 2-7: Sc in each sc across.
Row 8 (Opening Row): Sc in next 4 sc, ch 6, skip 6 sc, sc in next 4 sc. (8 sc)
Row 9: Sc in each sc and ch across. (14 sc)
Rows 10-14: Sc in each sc across. Do not finish off.
Rnd 1: 3 sc in first sc, sc in next 12 sc, 3 sc in last sc; * working in ends of rows, work 14 sc evenly spaced *; working in unused lps of starting chain, 3 sc in first ch, sc in next 12 chs, 3 sc in last ch; rep from * to *; join with sl st to first sc. (64 sc)
Rnd 2 (Sides): Working in back lps only, ch 3 (counts as first dc now and throughout), skipping center sc of corner 3-sc group, dc in next 4 sts, *(ch 1, skip next st, dc in next st) 3 times, dc in next 4 sts; rep from * around, end; (ch 1, skip next st, dc in next st) twice, ch 1, join with sl st to first dc. (42 dc)
Rnds 3-4: Ch 3, * dc in next 4 sts, (ch 1, skip next ch-1 sp, dc in next dc) 3 times; rep from * around, end; (ch 1, skip next st, dc in next st) twice, ch 1; join with sl st to first dc. (42 dc)
Rnd 5: Sl st in next st, ch 4 (counts as dc, ch 1), skip next st, dc in next st, ch 1, skip next st, dc in next ch-1 sp, (dc in next dc, dc in next ch-1 sp) twice, * (ch 1, skip next st, dc in next st) twice, ch 1, skip next st, dc in next ch-1 sp, (dc in next dc, dc in next ch-1 sp) twice; rep from * around, end; ch 1, join with sl st to first dc.
Rnd 6-7: Ch 4, work grids as established, ending with ch 1; join with sl st to first dc.
Rnd 8: Ch 3, dc in next ch-1 sp, dc in next dc, dc in next ch-1 sp, (ch 1, skip next dc, dc in next dc) twice, skip next dc, ch 1, *dc in next ch-1 sp, (dc in next dc, dc in next ch-1 sp) twice, (ch 1, skip next dc, dc in next dc) twice, ch 1, skip next dc; rep from * around, end; dc in next ch-1 sp; join with sl st to first dc.
Rnds 9-10: Ch 3, * dc in each of next 4 sts, (ch 1, skip ch-1 sp, dc in next dc) 3 times; rep from * around, end; (ch 1, skip next st, dc in next st) 3 times; join with sl st to first dc. (42 dc)
Rnd 11: Ch 1, sc in each st around. Finish off and weave in ends.
Flowers (Make 9)
With CC, ch 1 (center ch), (ch 3, dc, ch 3, sl st in center ch) 5 times. Finish off leaving long end.
Top Opening and Outside Edging
Join CC with sl st to any unused lp of opening or edging, ch 1, sc in same lp, ch 3, skip 1 st, (sc in next st, ch 3, skip next st) around; join with sl st to first sc. Finish off and weave in ends.
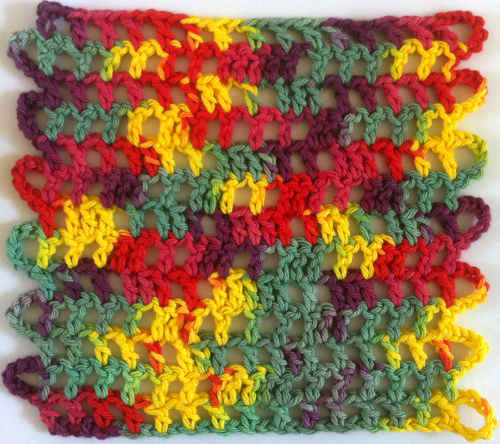
Finishing USE PHOTO AS A GUIDE
– Sew or glue Flowers to every other open grid.
– Sew or glue a Pearl to center of each Flower.
All Rights Reserved ©2012 Maggie Weldon
Enjoy,
Maggie
Visit: Maggiescrochet.com
LacePottery.com
Join Me on Facebook


Lovely