
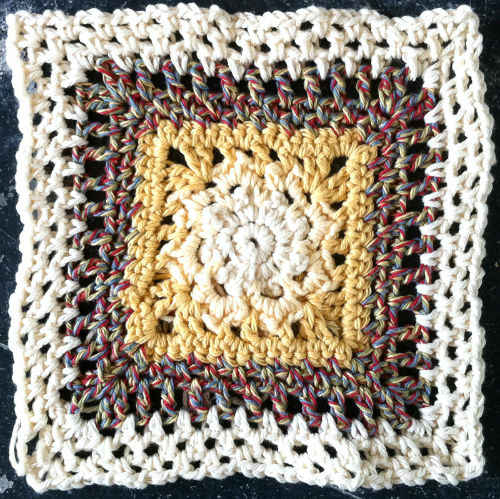
Here’s another addition to our vintage potholder collection. The colors are so nostalgic and the potholder is reminiscent of days gone by. These vintage potholders are more for collecting than actual use. They can be used as hot mats, but they are not recommended for potholders.
Create these potholders with any arrangement of crochet cotton colors for family and friends. They make great gifts.
Five Sided Granny Potholder
FP293
Edited By: Maggie Weldon
Copyright 2010 Maggie Weldon
Skill: Easy
Size: About 6 inches across
Materials: Size 10 Thread: Red & White
¾” Ring (for hanger)
Crochet Hook: Steel size 7.
JOINING WITH SC
When instructed to join with sc, begin with sl knot on hook, insert hook in st or sp indicated, yo and pull up a loop, yo and draw through both loops on hook.
TO CHANGE COLORS
Work last stitch before color change to last step, with new color yo and pull new color through remaining loops on hook. Drop unused color to wrong side. Do not work over unused color.
*For Further Assistance with Changing Colors, see our Help Section on the Website www.MaggiesCrochet.com
Special Stitches
Shell: (2 dc, ch 2, 2 dc) in same st or sp.
Color Variation # 1:
Rnds 1-3 – White
Rnds 4-5 – Red
Rnds 6-10 – White
Rnd 11 – Red
Rnd 12 – White
Color Variation # 2:
Rnds 1-3 – Red
Rnds 4-9 – White
Rnds 10-11 – Red
Rnd 12 – White
SIDES (Make 2)
Rnd 1: (Right Side) Starting at center, ch 4, sl st in first ch to form ring; ch 3 (counts as first dc now and throughout), 9 dc in ring; join with sl st to first dc. (10 dc)
Rnds 2-3: Working in spaces between dc, sl st in next sp, ch 3, dc in same sp, (2 dc in next sp) around; join. (20, 40 dc)
Rnd 4: Working in spaces between dc, sl st in next sp, ch 3, dc in same sp, ch 1, skip 1 sp (2 dc), * 2 dc in next sp, ch 1, skip 1 sp (2 dc); rep from * around; join. (40 dc, 20 ch-1 sps)
Rnd 5: Sl st to next ch-1 sp, ch 5 (counts as first dc and ch 2 now and throughout), 2 dc in same sp, * (ch 1, 2 dc in next ch-1 sp) 3 times, ch 1, Shell in next ch-1 sp; rep from * 3 times, (ch 1, 2 dc in next ch-1 sp) 3 times, ch 1, dc in first sp; join. (50 dc)
Rnds 6-12: Sl st to ch-2 sp, ch 5, 2 dc in same sp, * (ch 1, 2 dc in next ch-1 sp) across to corner ch-2 sp, ch 1, Shell in ch-2 sp; rep from * 3 times, (ch 1, 2 dc in next ch-1 sp) across, ending with ch 1, dc in first sp; join. (60, 70, 80, 90, 100, 110, 120 dc)
Edging
Rnd 1: With right sides of both Sides facing (wrong sides together, working through both thicknesses, join Red with sc to any corner ch-2 sp, (3 dc, sc) in same sp, * ch 1, (3 sc in next sp, ch 1) across to corner, (sc, 3 dc, sc) in corner ch-2 sp; rep from * 3 times, ch 1, (3 sc in next sp, ch 1) across to corner; join with sl st to first sc.
RING HANGER
Rnd 1: Using Ring, following diagrams below, join Red with sc to Ring, sc in ring until Ring is covered; join with sl st to first sc. Finish off and weave in ends.
Rnd 2: With right side facing, join White with sc to any sc, sc in each sc around; join. Finish off leaving long end.
– Using long end, sew Hanger to any corner over 5 sts.
All Rights Reserved ©2010 Maggie Weldon
Enjoy,
Maggie


The pattern says “following diagrams below” for the ring hanger. What diagrams?. I don’t see any diagrams. I really love your patterns, but why do you say they are all “easy”. Maybe for some one that has done crochet for a while….Yes, they would be easy. I am just learning and have found some patterns not so “easy”, but I keep at it. Thanks for all you do. The lace pottery is just gorgeous .